Basic Knife Skills Every Home Cook Should Know
Learning to use a knife properly is one of the highest-return investments you can make as a home cook. It makes prep faster, cooking more enjoyable, and your food more consistent. The good news is that basic knife skills aren't complicated. A few techniques cover the vast majority of what you'll ever need in a home kitchen.
The Only Knife You Actually Need
Before getting into technique, a word on equipment. You don't need a full knife block. One good chef's knife, kept reasonably sharp, will handle 90% of everything you cook. An 8-inch chef's knife is the standard recommendation for most home cooks: long enough to handle large vegetables, manageable enough for precision work.
A paring knife is useful for small tasks like peeling and trimming, while a serrated bread knife is ideal for crusty loaves. Beyond those three, additional knives are nice to have but rarely necessary.
A sharp knife is safer than a dull one. This surprises most beginners, but a dull blade requires more force to cut, which means less control and a higher chance of slipping. If your knife is sliding off tomatoes instead of cutting through them, it needs sharpening.
How to Hold a Knife Correctly
Most beginners grip the handle with all four fingers, leaving their index finger on top. The more stable, controlled grip is the pinch grip: pinch the blade between your thumb and the side of your bent index finger, just above the bolster (the thick part where the blade meets the handle). Your other three fingers wrap around the handle.
This feels awkward at first, but it gives you far more control over the blade angle and reduces fatigue during longer prep sessions. Most professional cooks use some version of this grip automatically.
The Claw: How to Protect Your Fingers
The claw is the single most important safety technique in knife work. Curl your fingers inward so your knuckles face the blade and your fingertips are tucked safely behind them. The flat side of the blade rests against your knuckles as you cut, which guides the knife and keeps your fingertips out of the way.
Practice this slowly at first. It feels unnatural, but it becomes automatic quickly, and it's what keeps experienced cooks from cutting themselves even when working fast.
The Essential Cuts
The Slice
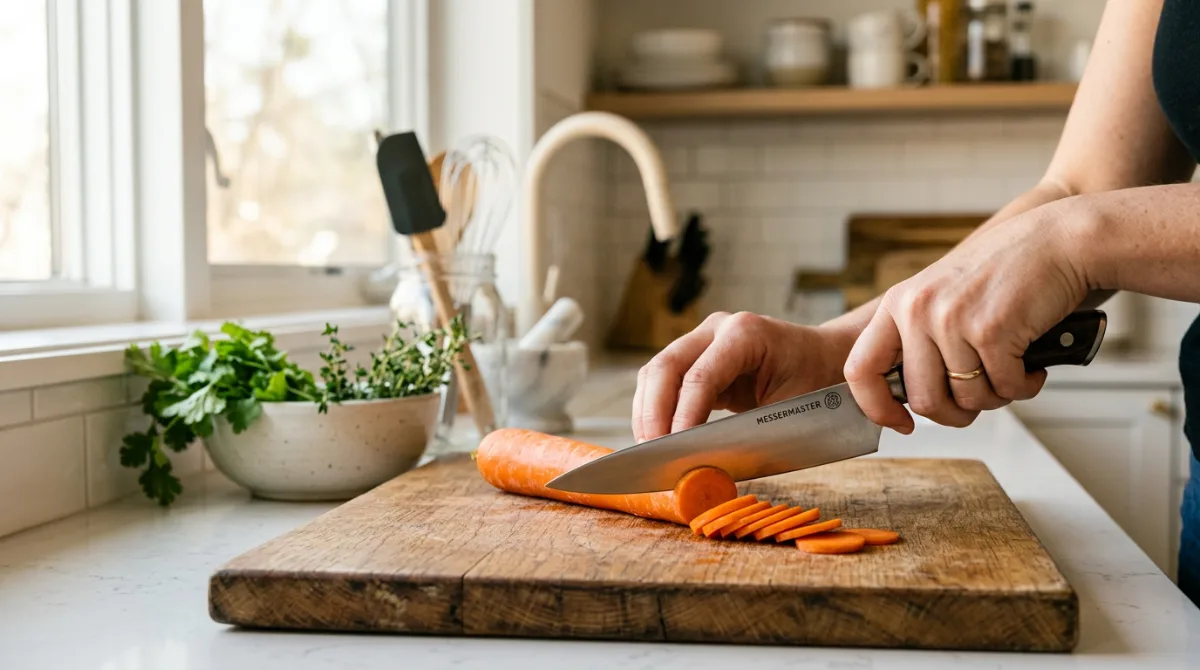
A simple back-and-forth or forward-push motion through an ingredient. For most vegetables, use the full length of the blade in a smooth rocking motion, keeping the tip of the knife on the cutting board and lifting only the heel. This is how you slice onions, carrots, celery, and most other everyday vegetables.
The Dice
Dicing produces small, even cubes, and is one of the most useful cuts to learn. For an onion:
- Cut the onion in half through the root, peel it, and lay the flat side down.
- Make several horizontal cuts parallel to the cutting board, stopping before the root.
- Make vertical cuts down through the onion toward the root, again stopping before it.
- Slice across those cuts to produce even pieces. The root holds everything together until the final slice.
Consistent sizing matters because evenly cut vegetables cook at the same rate. Uneven pieces mean some are overdone while others are still hard.
The Julienne
Julienne cuts produce thin matchstick strips, useful for stir-fries, slaws, and garnishes. Cut the vegetables into planks of even thickness, stack the planks, and slice them lengthwise into thin strips. For Chicken Stir Fry, julienned vegetables cook quickly and evenly in a hot pan, which is exactly what you want.
The Chiffonade
Used for leafy herbs and greens. Stack the leaves, roll them tightly into a cigar shape, and slice across the roll into thin ribbons. This is how you cut basil without bruising it and how you shred large leaves like kale or cabbage quickly.
The Rough Chop
Not everything needs precision. A rough chop, where size doesn't need to be consistent, is fine for soups, stews, and anything that will be blended. Speed matters more than uniformity here.
How to Cut Specific Ingredients
Onions Without Crying
The compounds that make your eyes water are released when you cut into an onion's cells. A sharp knife minimizes cell damage and reduces the effect. Chilling the onion in the fridge for 30 minutes before cutting also helps, as does cutting near an open window or fan. Don't cut off the root end until the very last step. The root holds the layers together and makes the whole process easier.
Garlic
Smash the clove flat with the side of your knife to loosen the skin, then peel it off. Mince by rocking the knife over the garlic repeatedly, gathering it back into a pile with the blade as you go. For very fine garlic paste, sprinkle a little salt on the minced garlic and drag the flat of the blade across it repeatedly. The salt acts as an abrasive, breaking it down further.
Tomatoes
Use the tip of a sharp knife to pierce the skin first, then slice. A serrated knife works well here if your chef's knife isn't sharp enough to cut through the skin without squashing the flesh.
Herbs
For hardy herbs like rosemary and thyme, strip the leaves by running your fingers down the stem against the direction of growth. For soft herbs like parsley and cilantro, gather the leaves into a pile and rock the knife back and forth over them. For basil, use the chiffonade method above to avoid bruising.
Keeping Your Knife Sharp
A knife honing steel doesn't sharpen a blade. It realigns the edge, which can drift out of true over time. Run the blade down the steel at roughly a 15 to 20 degree angle, alternating sides, before each cooking session. This keeps the edge performing well between proper sharpenings.
Actual sharpening, which removes metal to create a new edge, should be done a few times a year, depending on how often you cook. A whetstone gives the best results, but pull-through sharpeners and electric sharpeners are easier for beginners. According to America's Test Kitchen, regular honing significantly extends the time between sharpenings.
Never put good knives in the dishwasher. The heat warps handles and dulls edges. Hand-wash and dry immediately.
A Note on Cutting Boards
Wood and plastic are both fine for home use. Avoid glass and ceramic boards. They look sleek but destroy knife edges quickly. A board that slides around the counter is a safety hazard; place a damp towel under it to keep it in place.
The Payoff
Once these basics feel natural, prep time drops noticeably. An onion that used to take five minutes takes one. Vegetables come out even, which means they cook better. And perhaps most importantly, the kitchen starts to feel less like a place where things happen to you and more like a place where you're in control.
If you find yourself with a pile of freshly prepped vegetables and no plan for them, Food Noggin's AI cooking assistant Noggy can suggest recipes based on whatever ingredients you have on hand.
Frequently Asked Questions
▸ What knife skills should a beginner learn first?
Start with the pinch grip, the claw technique for finger safety, and the basic slice. These three things cover the majority of everyday cooking prep. Once those feel natural, add the dice for onions and carrots, which are the most commonly used vegetables in home cooking.
▸ Is a chef's knife the only knife a beginner needs?
For most home cooking, yes. A sharp 8-inch chef's knife handles vegetables, meat, herbs, and most other tasks. A paring knife is useful for small precision work and a serrated knife for bread, but beyond those three, you rarely need anything else.
▸ How do I know if my knife is sharp enough?
Try slicing a ripe tomato without pressing down. A sharp knife glides through the skin cleanly. If you need to press or saw, the knife needs sharpening. The paper test also works: hold a sheet of paper by the top and slice downward through it. A sharp knife cuts cleanly; a dull one tears.
▸ What is the safest way to hold food while cutting?
Use the claw grip: curl your fingers so the knuckles face the blade and the fingertips are tucked behind them. Rest the flat side of the blade against your knuckles as a guide. This keeps your fingertips safely out of the knife's path, even if it slips.
▸ How often should I sharpen my kitchen knife?
For a home cook who uses their knife daily, a full sharpening two to four times a year is usually enough. Between sharpenings, use a honing steel before each cooking session to realign the edge. Regular honing means you'll need to sharpen less often.
▸ What's the difference between honing and sharpening a knife?
Honing realigns the edge of the blade without removing metal. It keeps a sharp knife sharp. Sharpening removes metal to create a new, sharper edge. You should hone frequently and sharpen occasionally. Most home cooks only need to sharpen a few times a year if they hone regularly.
▸ Why does knife technique matter if I'm just cooking at home?
Consistent cuts mean food cooks evenly, which directly affects the quality of what you eat. A better technique also makes prep faster and safer. A cook who can dice an onion in 60 seconds rather than 5 minutes is more likely to cook from scratch on a weeknight, which has a compounding effect on both cost and diet quality over time.
Ready to cook smarter?
Stop wasting food, time, and money. Let Food Noggin do the thinking.